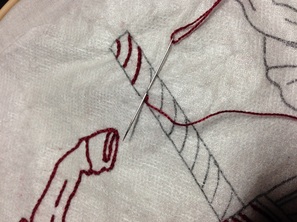
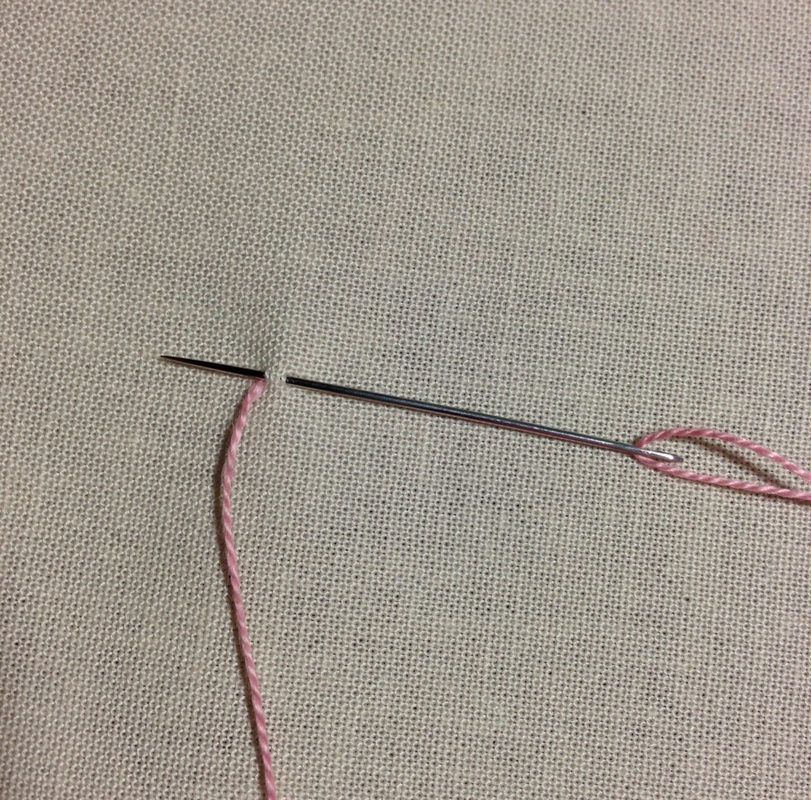
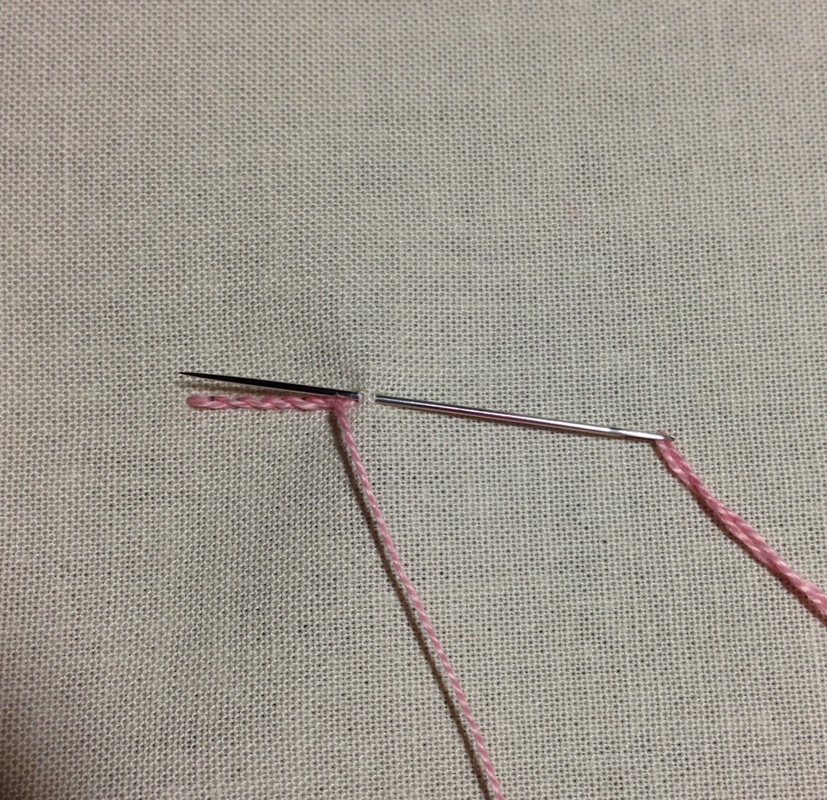
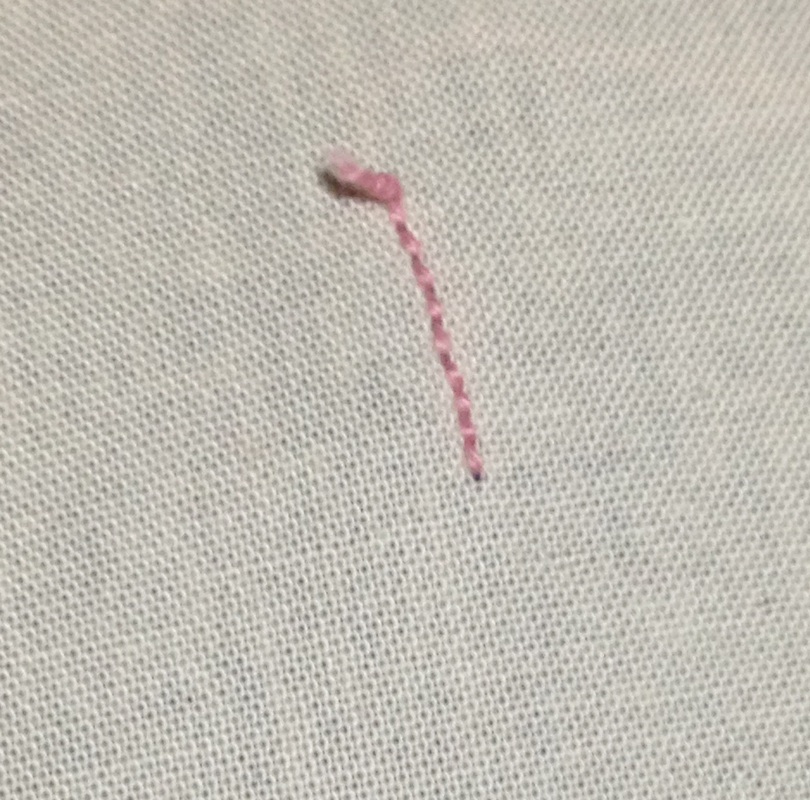
| I have finally decided that Primrose Lane needs a blog! Bert "de-husband" and I, the "designer", are privileged to meet many of you at quilt shows across the country. While we are in the booth, I usually have my embroidery hoop in my hands, demonstrating my embroidery techniques and answering questions. However, since there are many more of you whom I have not met, I will try to do the same for you here on my blog. With that said, here we go... Many of those visiting my booth think my designs are machine stitched because the stitches are so small and even. Others comment that "My stitches don't look like yours!" My response is always "You need to make smaller stitches." Here is an example of how small I usually make my stitches...(Illustration 1) Yes, they are TINY... I usually take about 1/12 to 1/16 of an inch "bite" of the fabric at my smallest. I do get a little larger when stitching on long straight lines. Like you, I do get in a hurry and want to get my project finished sooner. As you can see from the photo, I prefer the stem stitch for most of my stitches, switching to a backstitch when the curves are especially small. Why? I will go into those details on my next post... I also prefer pearl cotton over traditional embroidery floss. That will also be addressed in a future post. I ALWAYS use an embroidery hoop, and will explain why in a future post. Here's how I do a stem stitch... To make the stitches easier to see in the following photos, I have omitted the drawn line that I would normally be following. Thread one strand of 12 weight pearl cotton in a size 7 or 8 embroidery needle. Knot one end. Bring your needle through the fabric where you want to begin stitching so that the knot is on the back of the fabric. I am right handed. When stitching a stem stitch, I start on the left, heading towards the right. The eye of my needle "needs to see where it is going", so the point of the needle is pointed towards the left. Insert the needle approximately 1/12 of an inch to the right, bringing needle back through the fabric at or very close to where you made your initial stitch. (Illustration 2) Continue stitching in the same way, creating a smooth line of even stitches. (Illustration 3) Keep the needle along the line. There is no need to slant your needle. Keeping the needle on the line allows the threads to create a rope like texture. As you can see by looking at Illustration 4, the underside of the fabric shows a very neat line of stitches. In this example the stitches butt up against each other. That is not always the case. If you have a few threads of fabric between your stitches on the back, do not panic. The stitch police will not come get you! When I have finished stitching, or run out of thread, I either tie a knot, or weave the thread through previous stitches on the underside of the fabric for about an inch, and then trim the excess thread. I hope this has answered your questions regarding stitching a stem stitch If you have any other questions, let me know, and I will try to help. I hope you are looking forward to my next post as much as I am. Blessings, Beth. |
|
17 Comments
|
AuthorBeth Dix is the Owner and Designer of Primrose Lane. Archives
October 2023
Categories
All
|


 RSS Feed